Outside

Lesson Description: Students will be creating pieces of 2-dimentional artwork that show a memory they have of an outdoor activity. They will get a chance to use any of the materials we had shown them in the past lessons. We hope for them to focus on telling a story with their pieces and expressing emotion through learned techniques. We also hope that since the students are given a variety of materials that they will experiment with mixed media and the potential that mixed media can bring to a piece. They will get a chance to reflect on their artwork at the end of the class by sharing their artwork with their class mates and telling them the techniques they used and why.

Key Concepts: Symbol, technique, line, expression, emotions, movement, shape, and color

Essential Understandings: -Art can be made to symbolize a memory and express what it means to an artist personally. -Movement can be expressed in works of art using line and shape. -Different techniques can be learned and applied with color to create a sense of emotion in art.

Objectives:

  1. -After brainstorming, students will create a concept map about an outdoor activity they enjoy. (Bloom’s: applying/ Standard: Transfer/ GLE: 4th  )
  2. -Using concept map, students will be able to sketch a 2 dimensional plan for a piece of art representing an outdoor activity they enjoy. (Bloom’s: applying/ Standard: Transfer/ GLE: 4th  )
  3. -Given variety of materials, students should be able to create a 2 dimensional piece of artwork using the chosen materials that will be best to represent their idea. (Bloom’s: Create/ Standard: Create/ GLE: 4th Create 1)
  4. -Using provide information about artists, students will do research by collecting pieces of artwork and important facts to find artists that use the similar subject matter or techniques they plan to use. (Bloom’s: understanding/ Standard: Transfer/ GLE: 4th Comprehend 1)
  5. -Using completed work, students should be able to explain the different processes they used and describe their decisions. (Bloom’s: analyzing and understanding/ Standard: Transfer/ GLE; 4th Transfer 1)

Skills: Correct use of materials and exploration of mixed media.

Art Focus: Mixed media; technique and expression

Literacy Focus: To be able to share a memory in their artwork. Also to be able to describe their reasoning for why they chose certain materials and techniques.

Documentation:

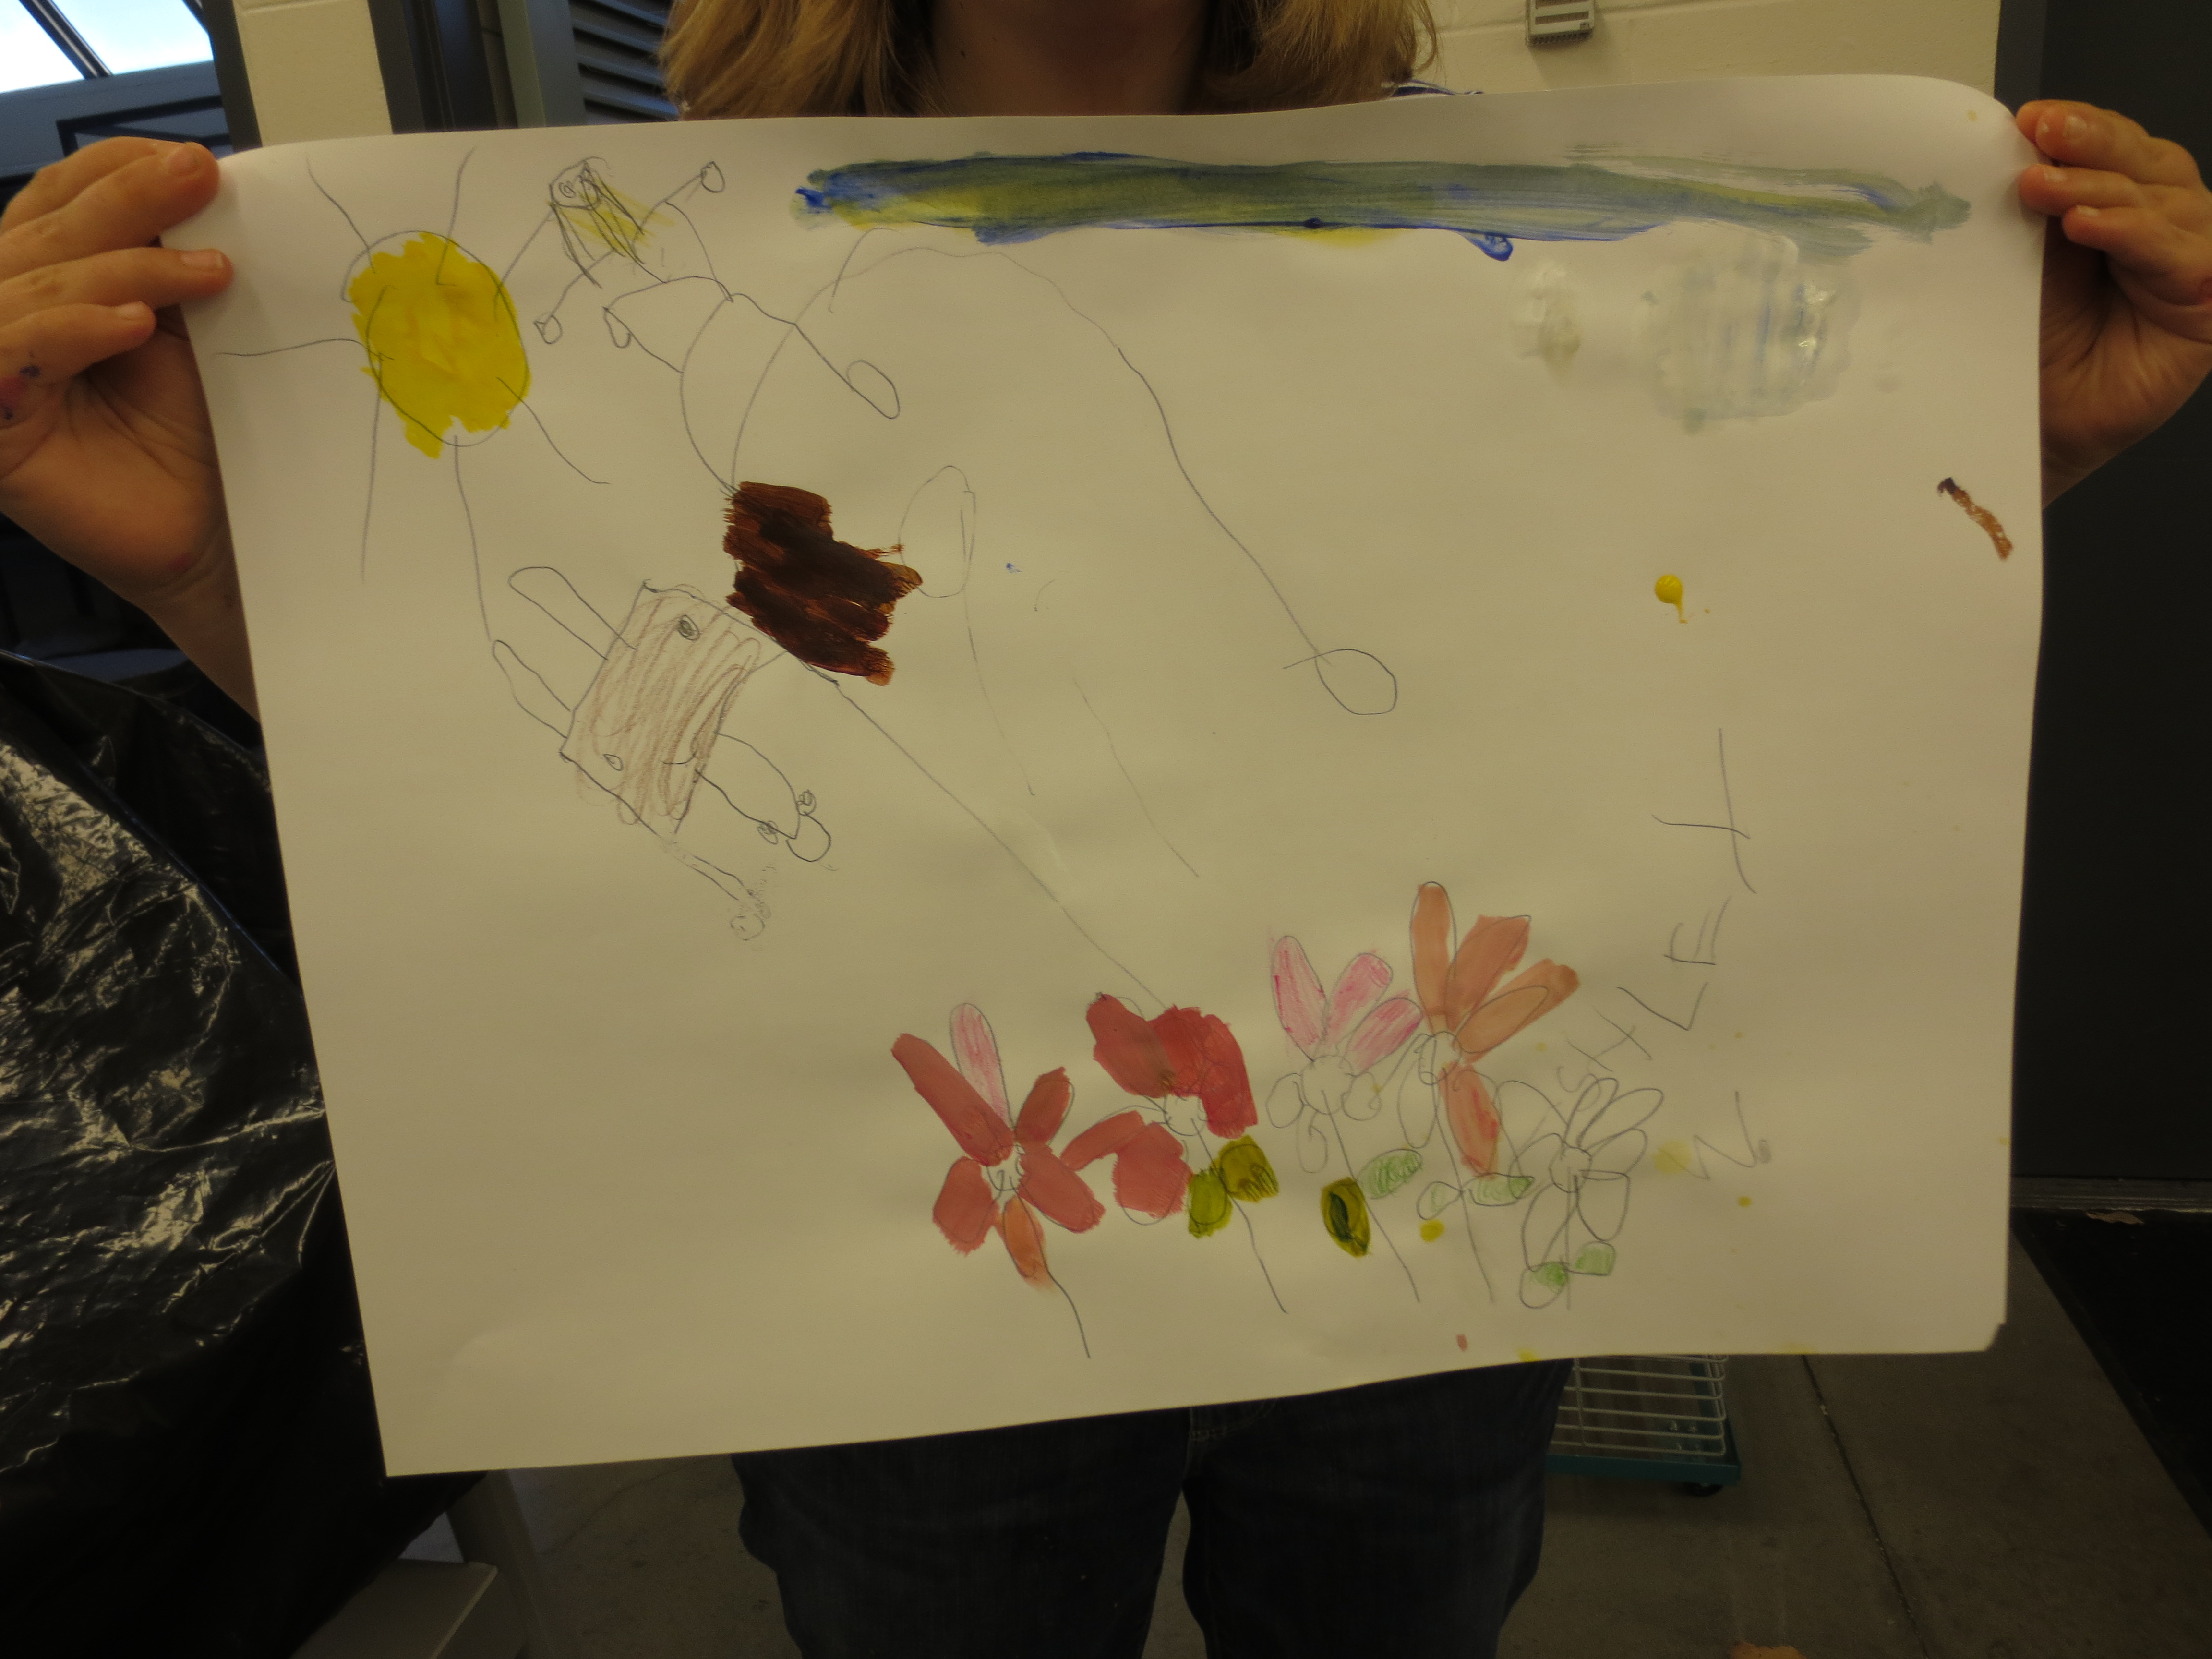
Today was the final service learning session. For our final activity the students were asked to create a piece of artwork based around an activity they liked to do outside. They were allowed to use any of the mediums we had used in the previous weeks. We also had the students use a large piece of paper to create their artwork on. Most of the students were excited about this and those that wanted to still work smaller still had the option. To get them to start brainstorming ideas we asked volunteers to share activities they liked to do outside. Jim mentioned he liked to mow the yard and Ashley talked about horseback riding. We then answered any questions they had and let them start sketching ideas in their sketchbooks.


Ashley's artwork was about how she was going to get to go horseback riding.
Ashley’s artwork was about how she was going to get to go horseback riding.
Jim in the end made his artwork about his father's funeral that was outside.
Jim in the end made his artwork about his father’s funeral that was outside.


LeeAnn really took advantage of the planning stage. She created a detailed sketch of what she would later transfer to her larger piece of paper. This has been an important stage for LeeAnn through the last five weeks. She really uses the planning stage to think about her ideas. This week when she was done drawing her idea she made a decision on what mediums to use and then was able to start her large piece with no troubles.


LeeAnn's plan in her sketchbook.
LeeAnn’s plan in her sketchbook.
The beginning of LeeAnn's final piece.
The beginning of LeeAnn’s final piece.


When we gave students the option to use any of the previous mediums, we hoped they would experiment with mixed media. To initiate the use of mixed media myself and Missy chose to mix media in our examples that we shared with the students. We also talked about mixed media with the students so they understood it was an option for them. Judy was one of the students who used mixed media in her artwork. She explained that she liked adding the magazine images to her artwork because it was easy to cover the empty spaces. Another student who used mixed was Heidi. She used the mosaic technique by ripping up colored paper and using the pieces to create the mountains in her artwork. She then used watercolors to create the river in her artwork.

Judy's artwork was about basketball. She chose to add magazine images to her piece.
Judy’s artwork was about basketball. She chose to add magazine images to her piece.
Heidi starting to arrange the torn pieces of paper to make her mountains.


While I was walking around to see what ideas the students were coming up with, Becky expressed an idea about a bike but she wasn’t sure how to draw a bike. I helped Becky to solve her problem by breaking down the basic shapes of a bike. While deciding the basic shapes we also thought about the placement of these shapes and how and where they all connected. Through this process Becky was able to come up with an image that resembled a bike for her artwork.


Becky's sketch of a bike that she then transferred onto a larger sheet of paper.
Becky’s sketch of a bike that she then transferred onto a larger sheet of paper.


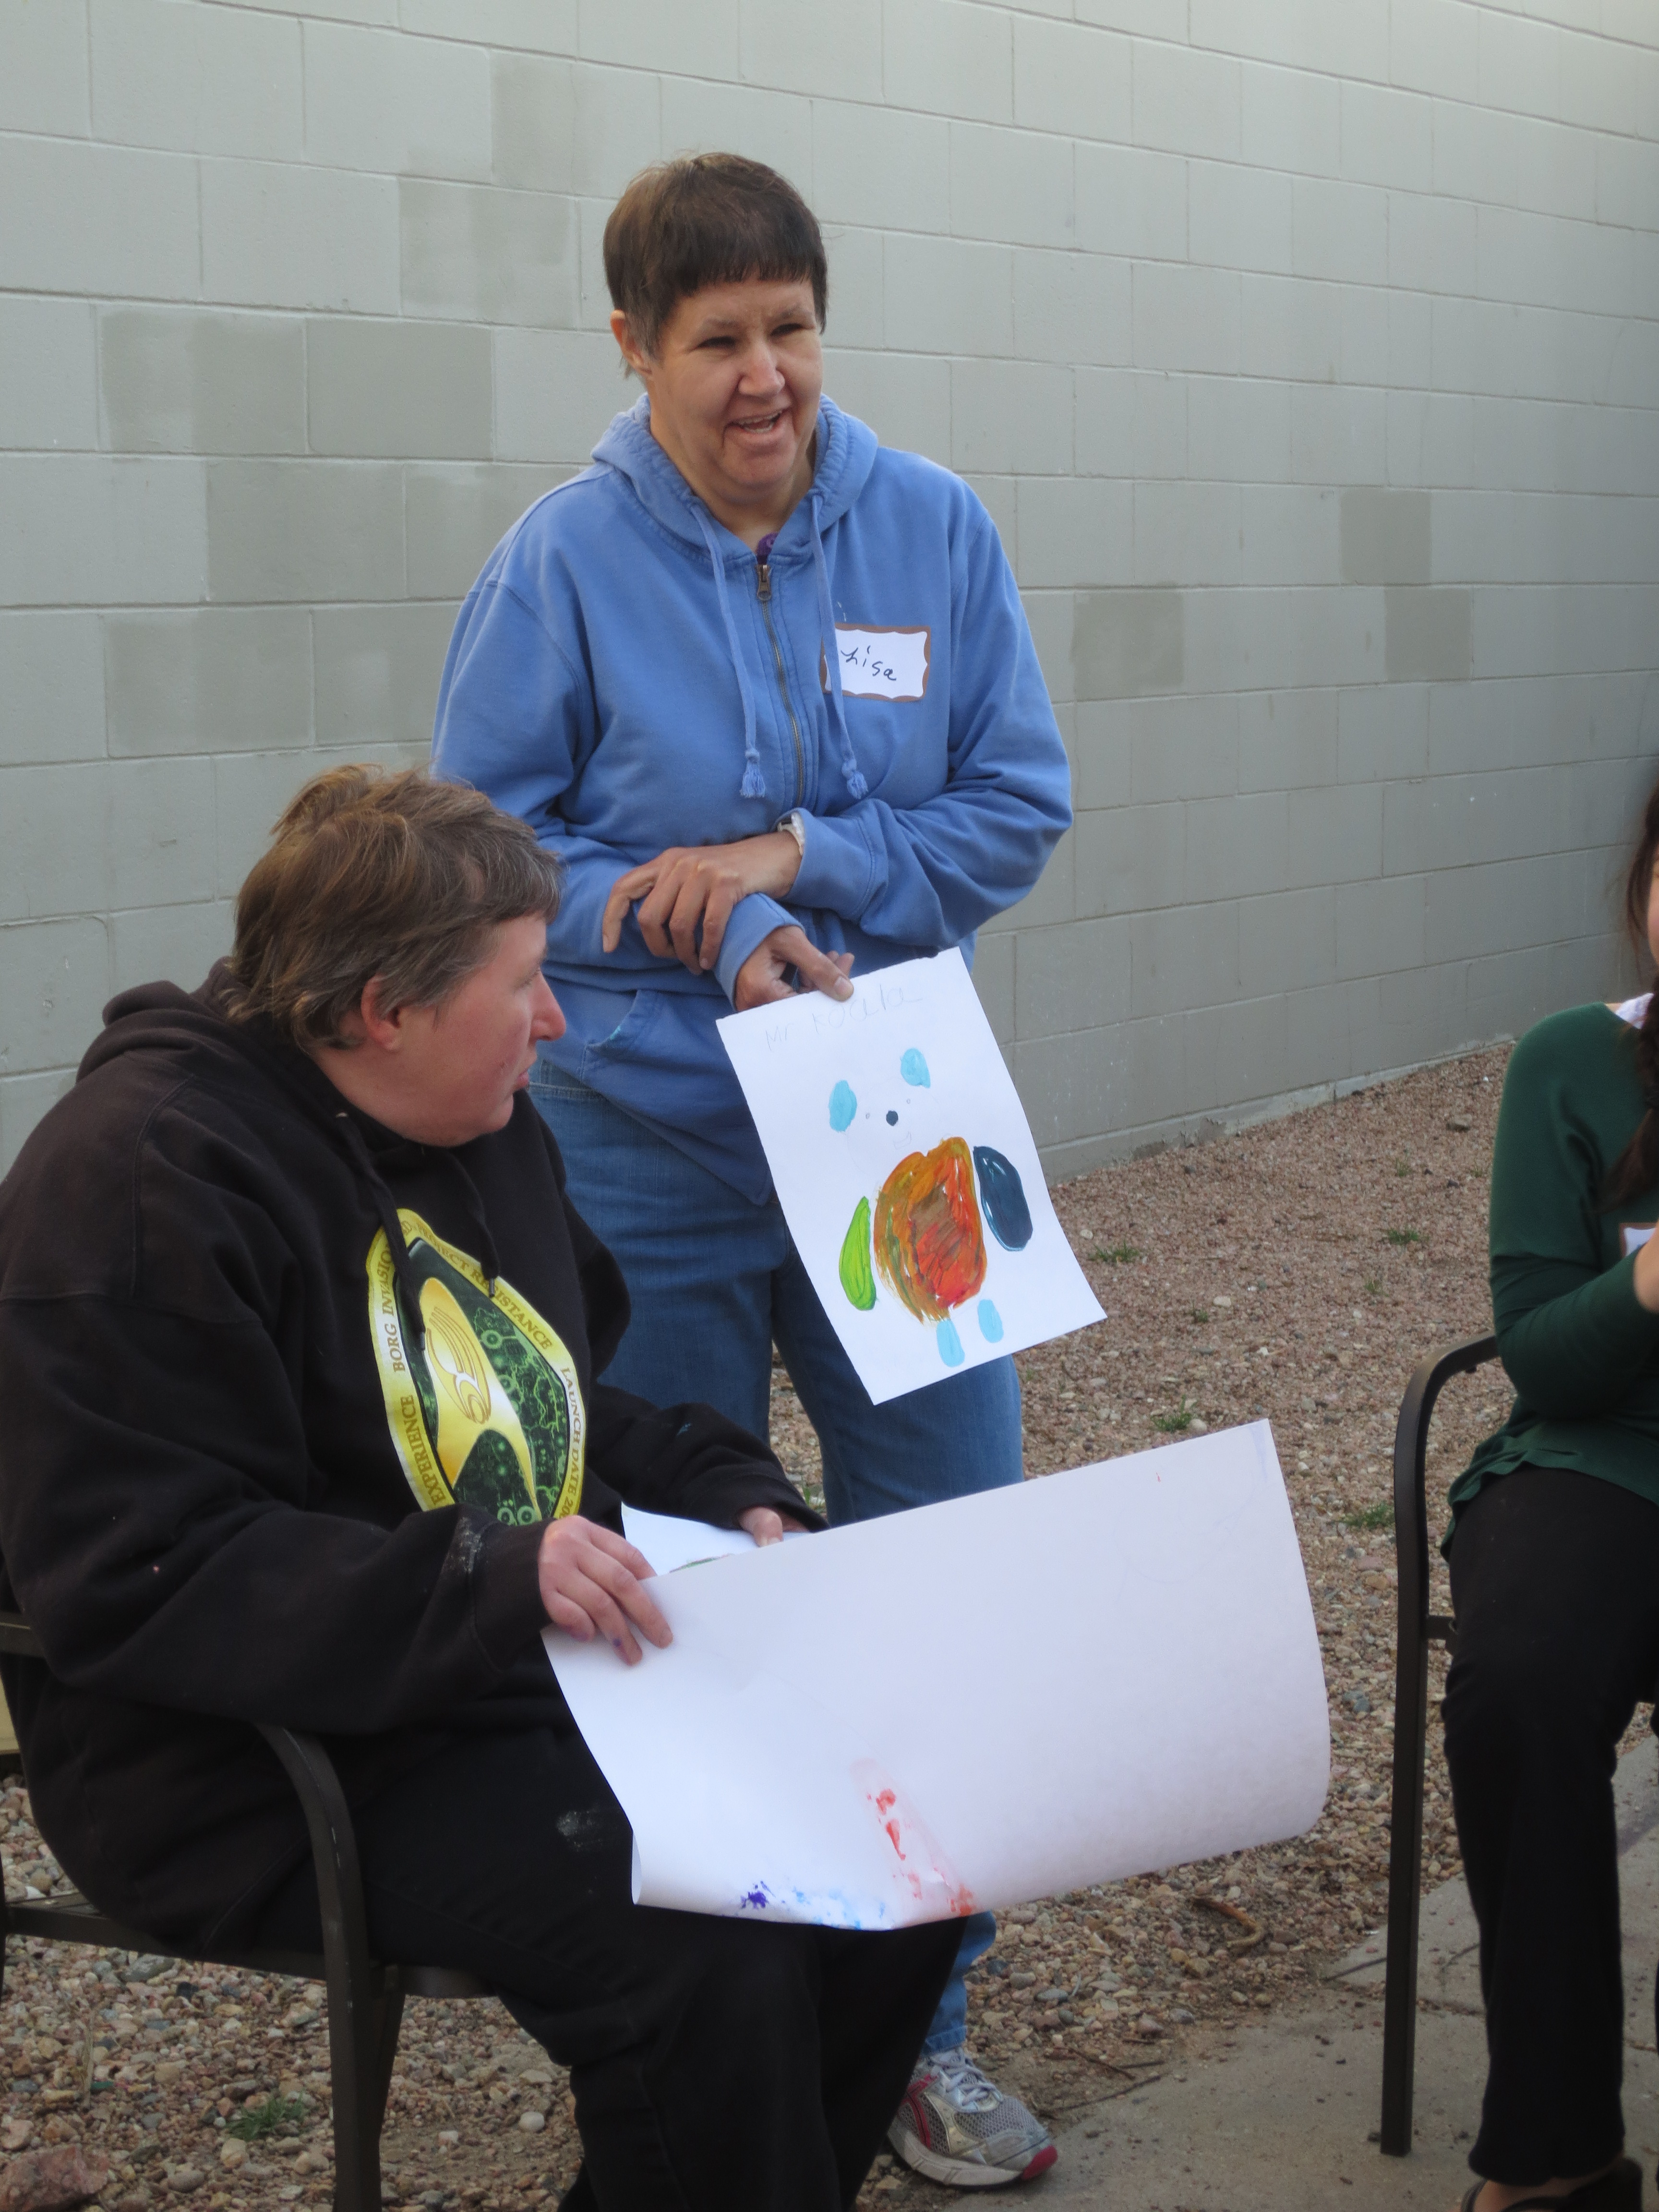
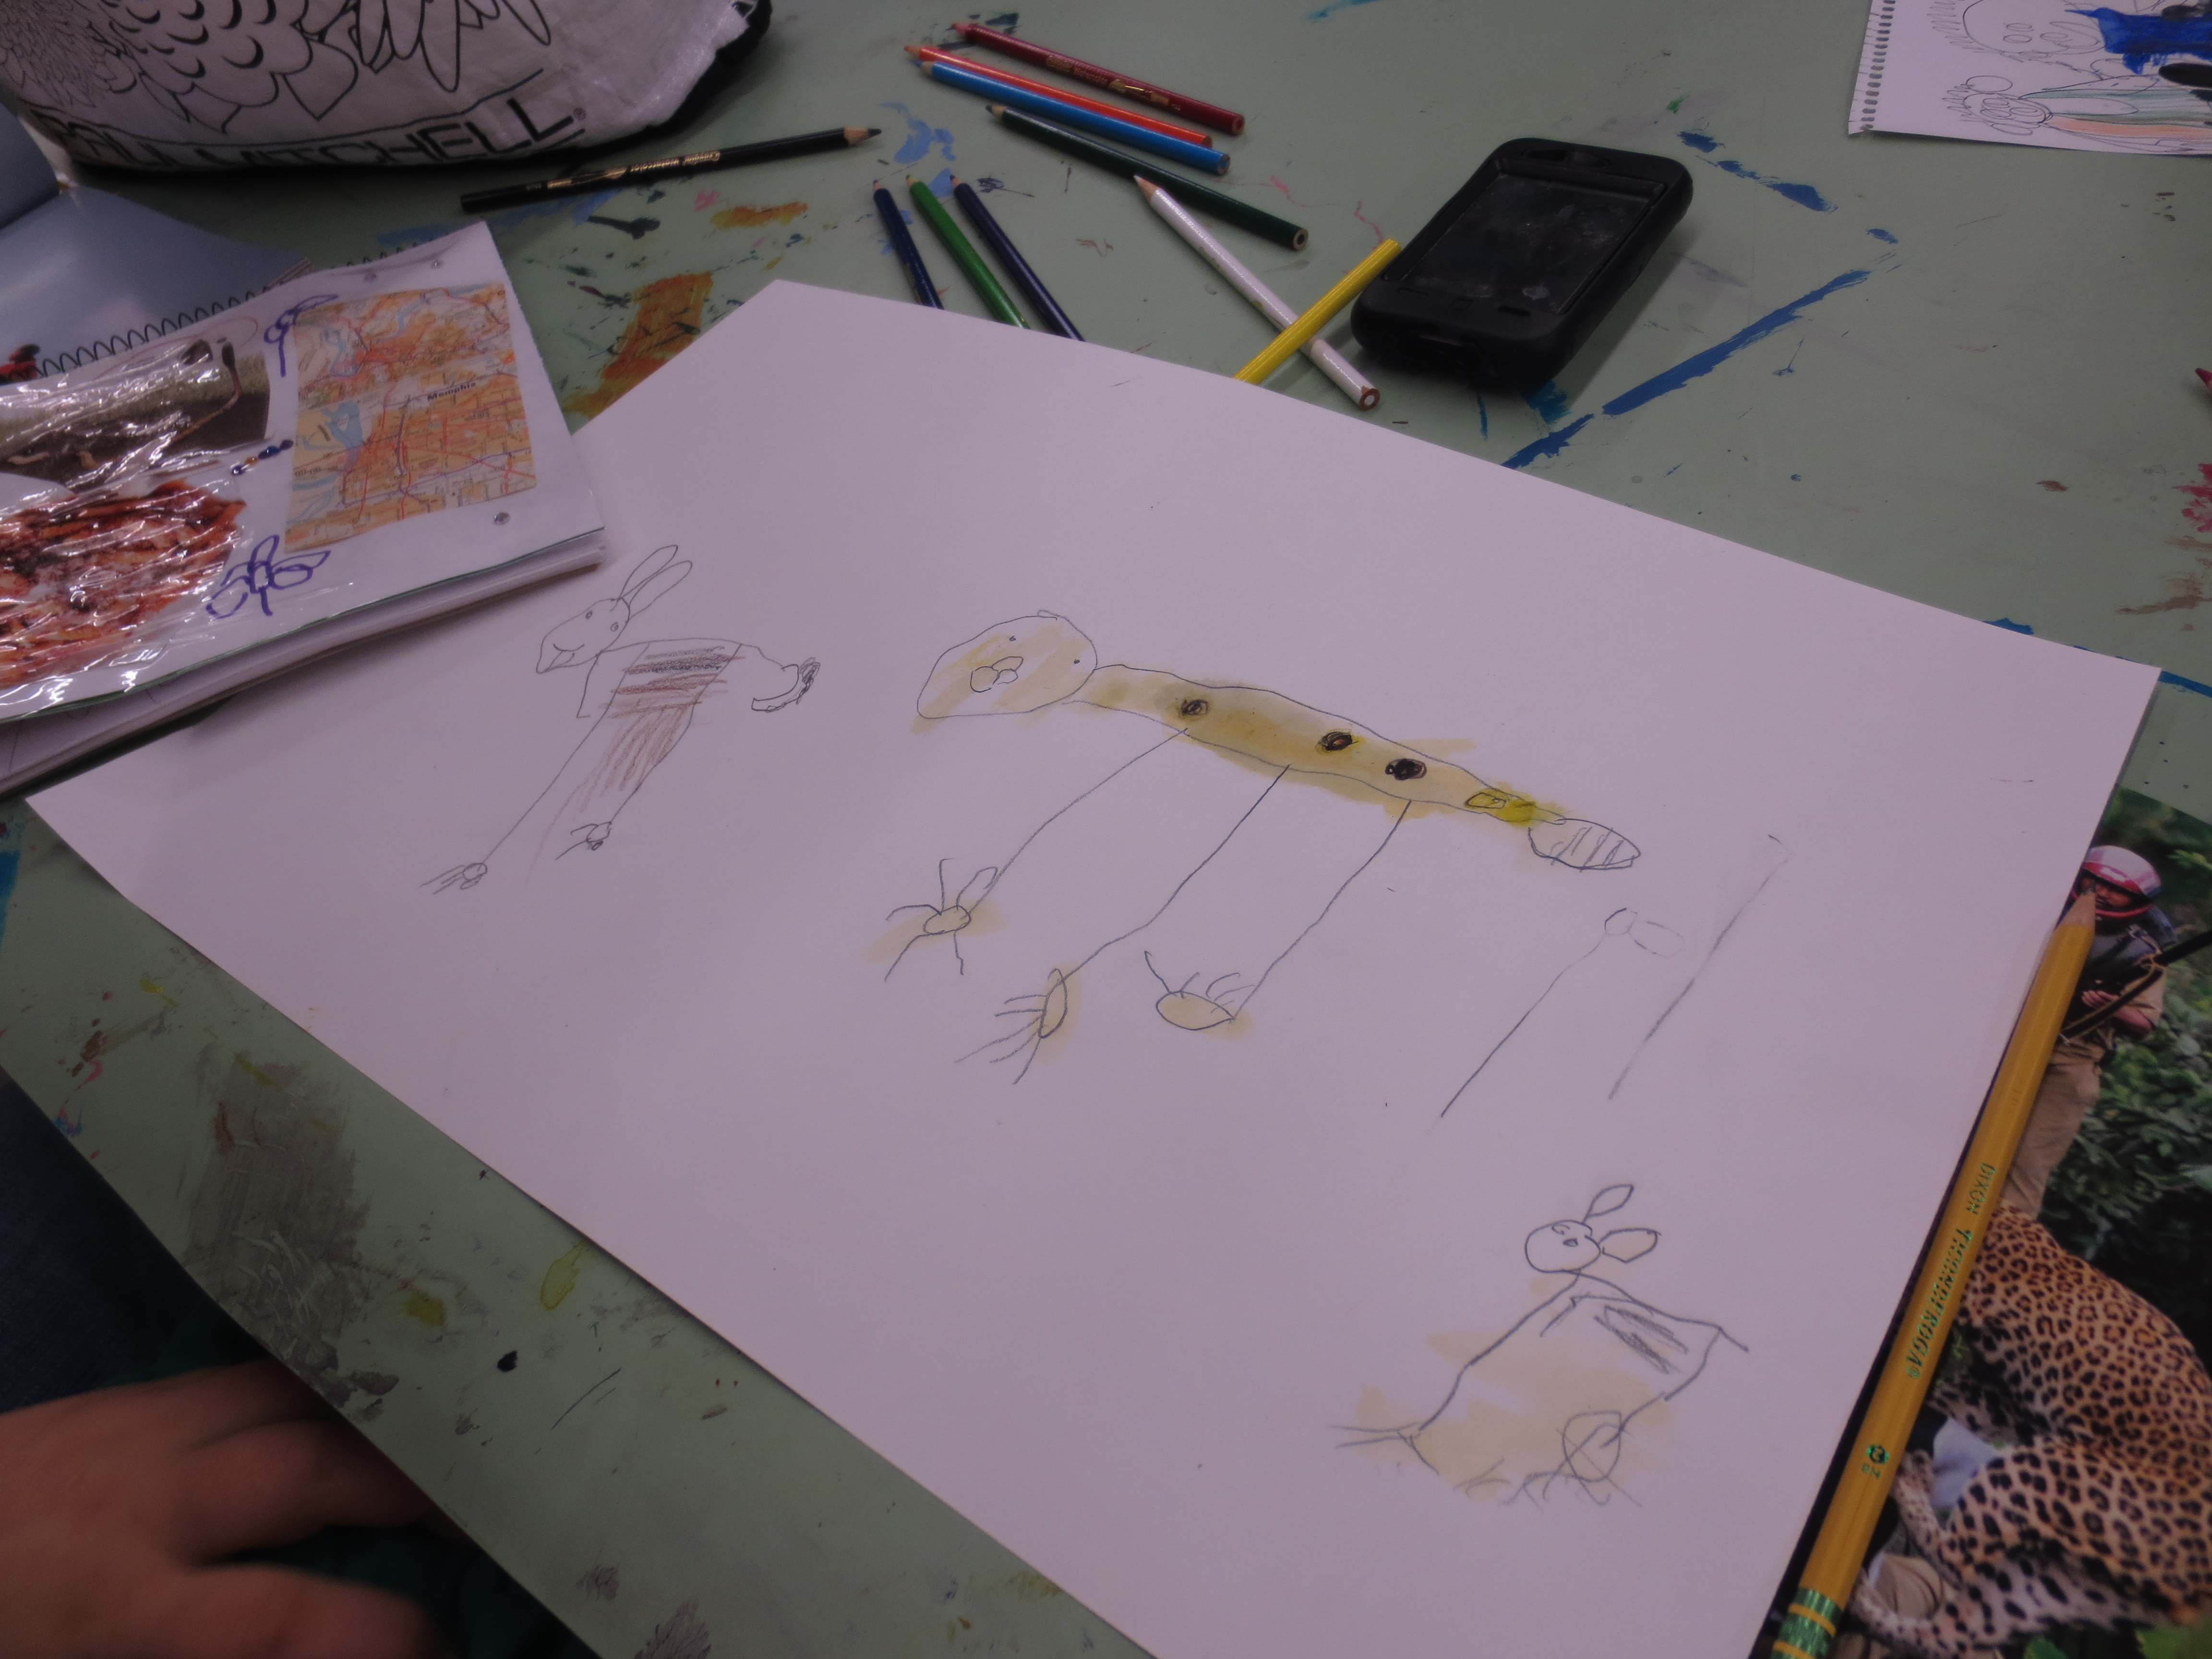
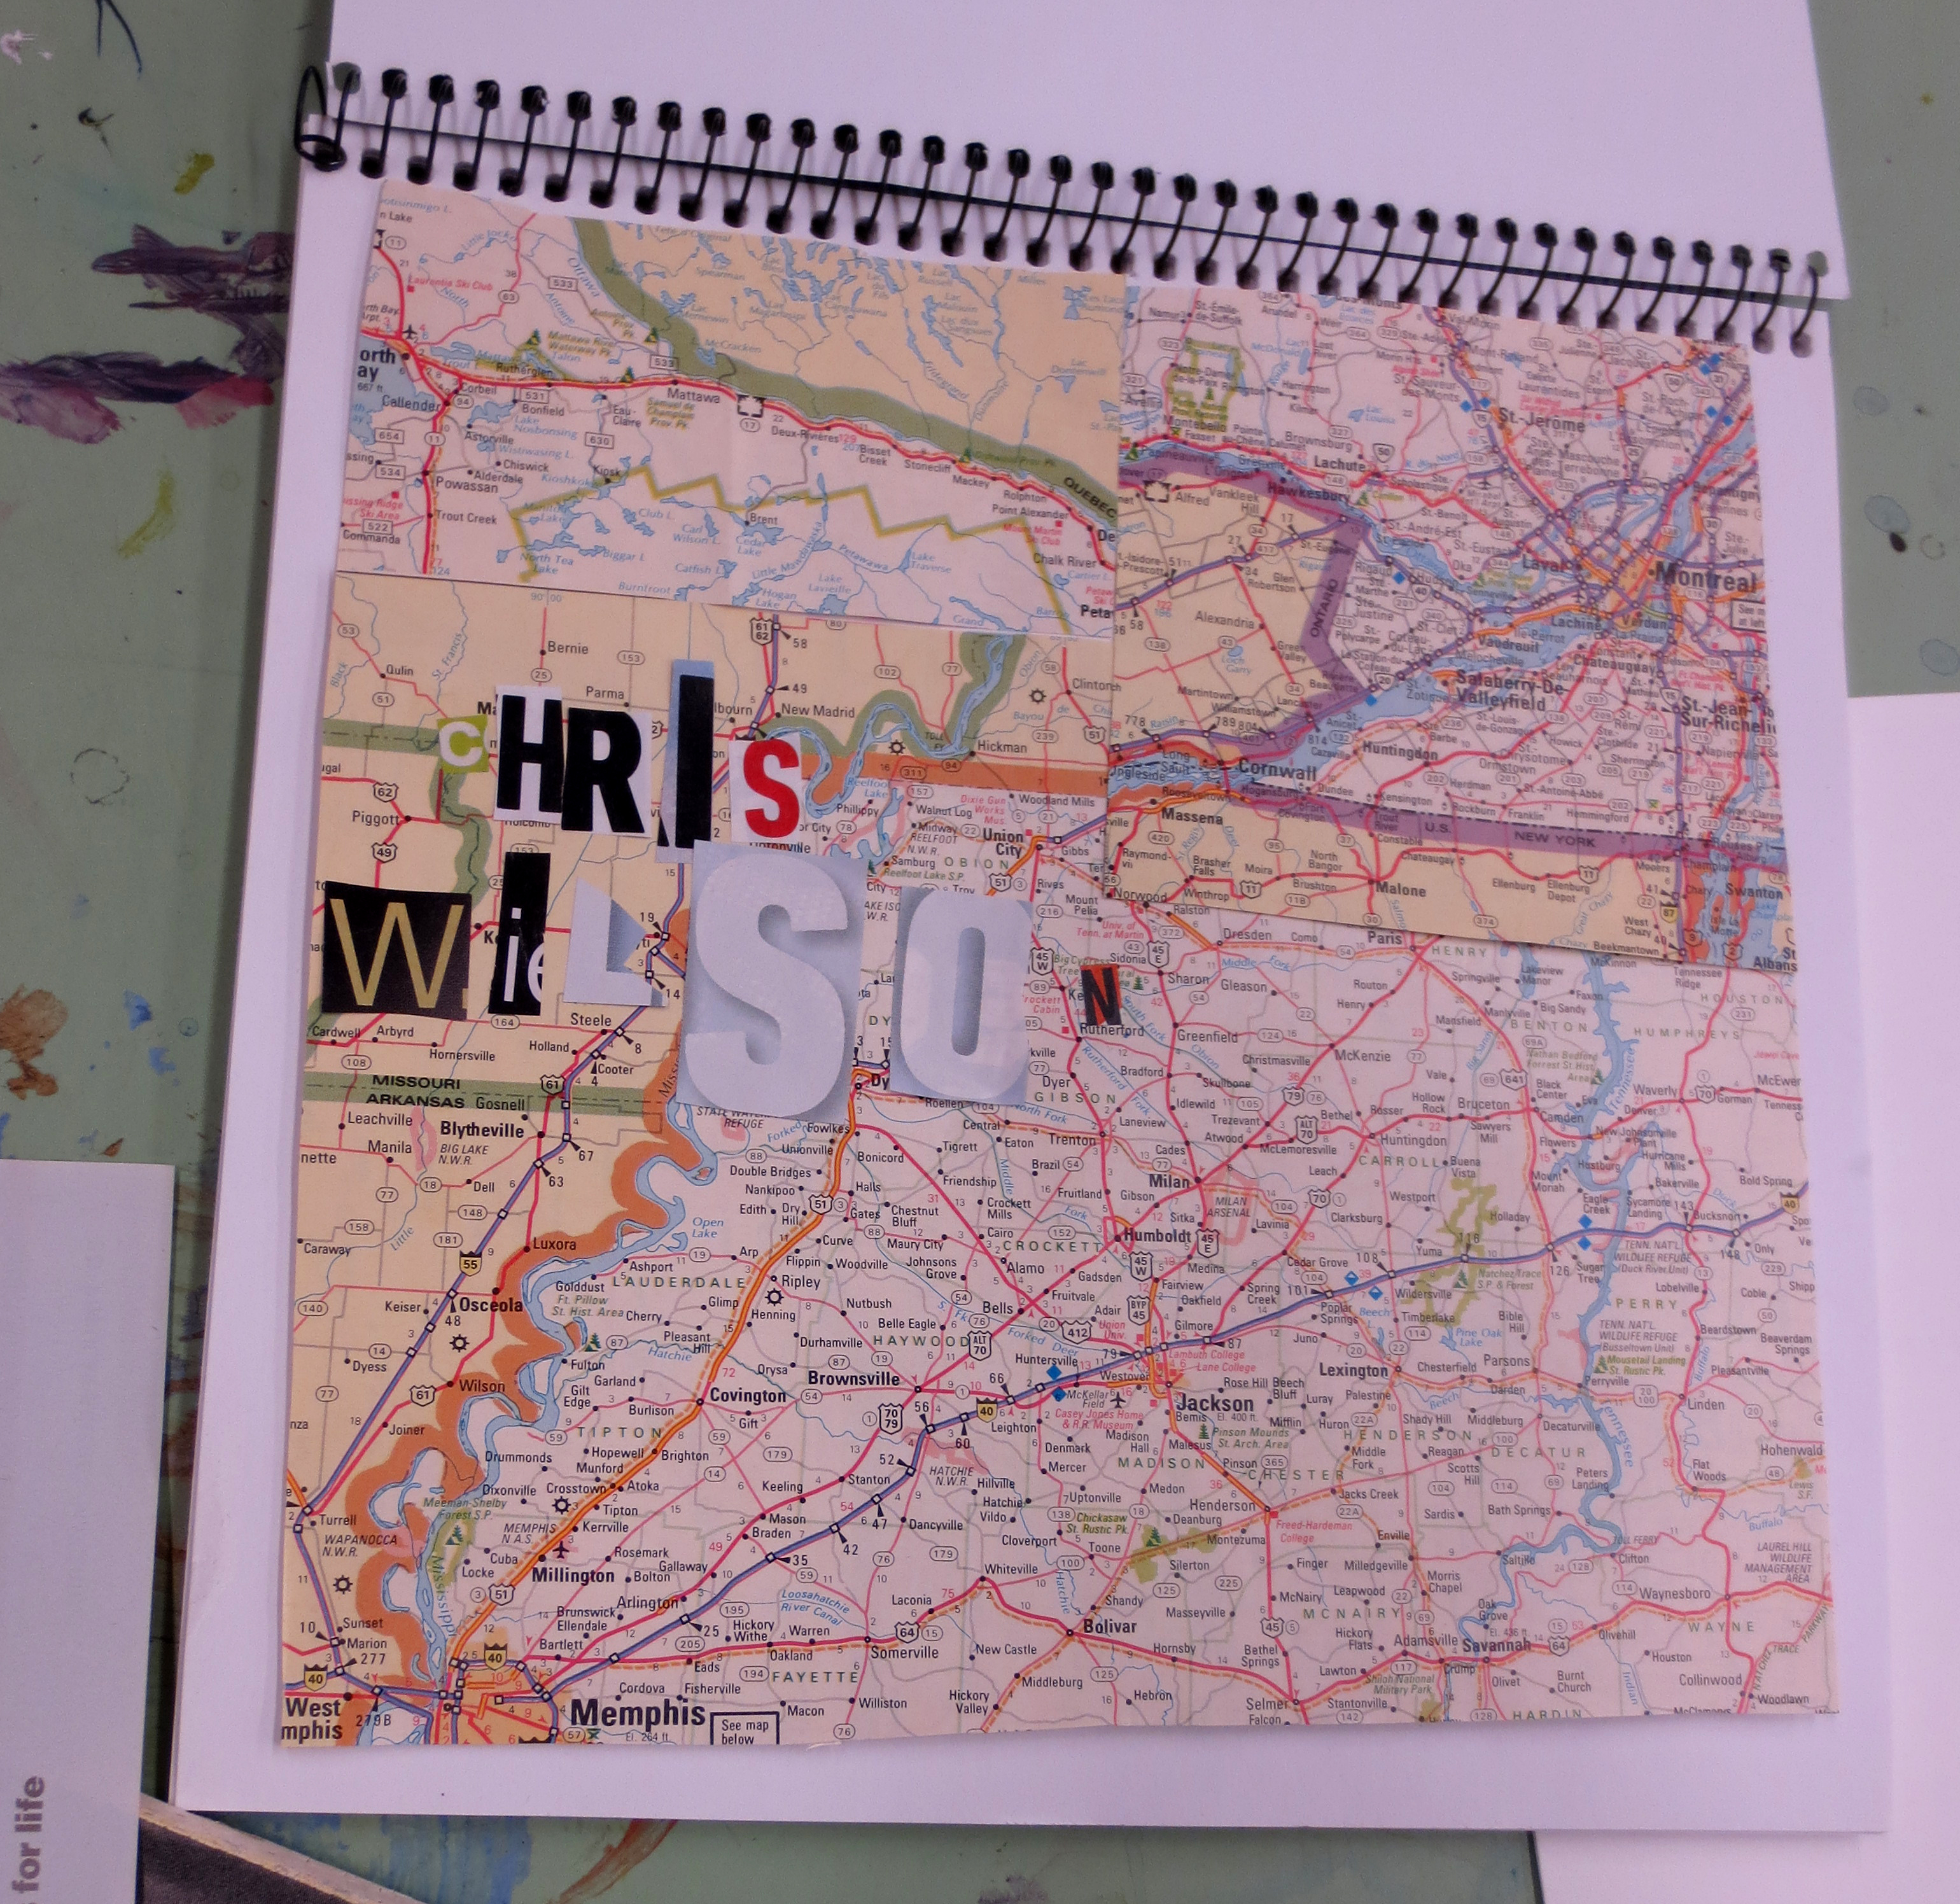
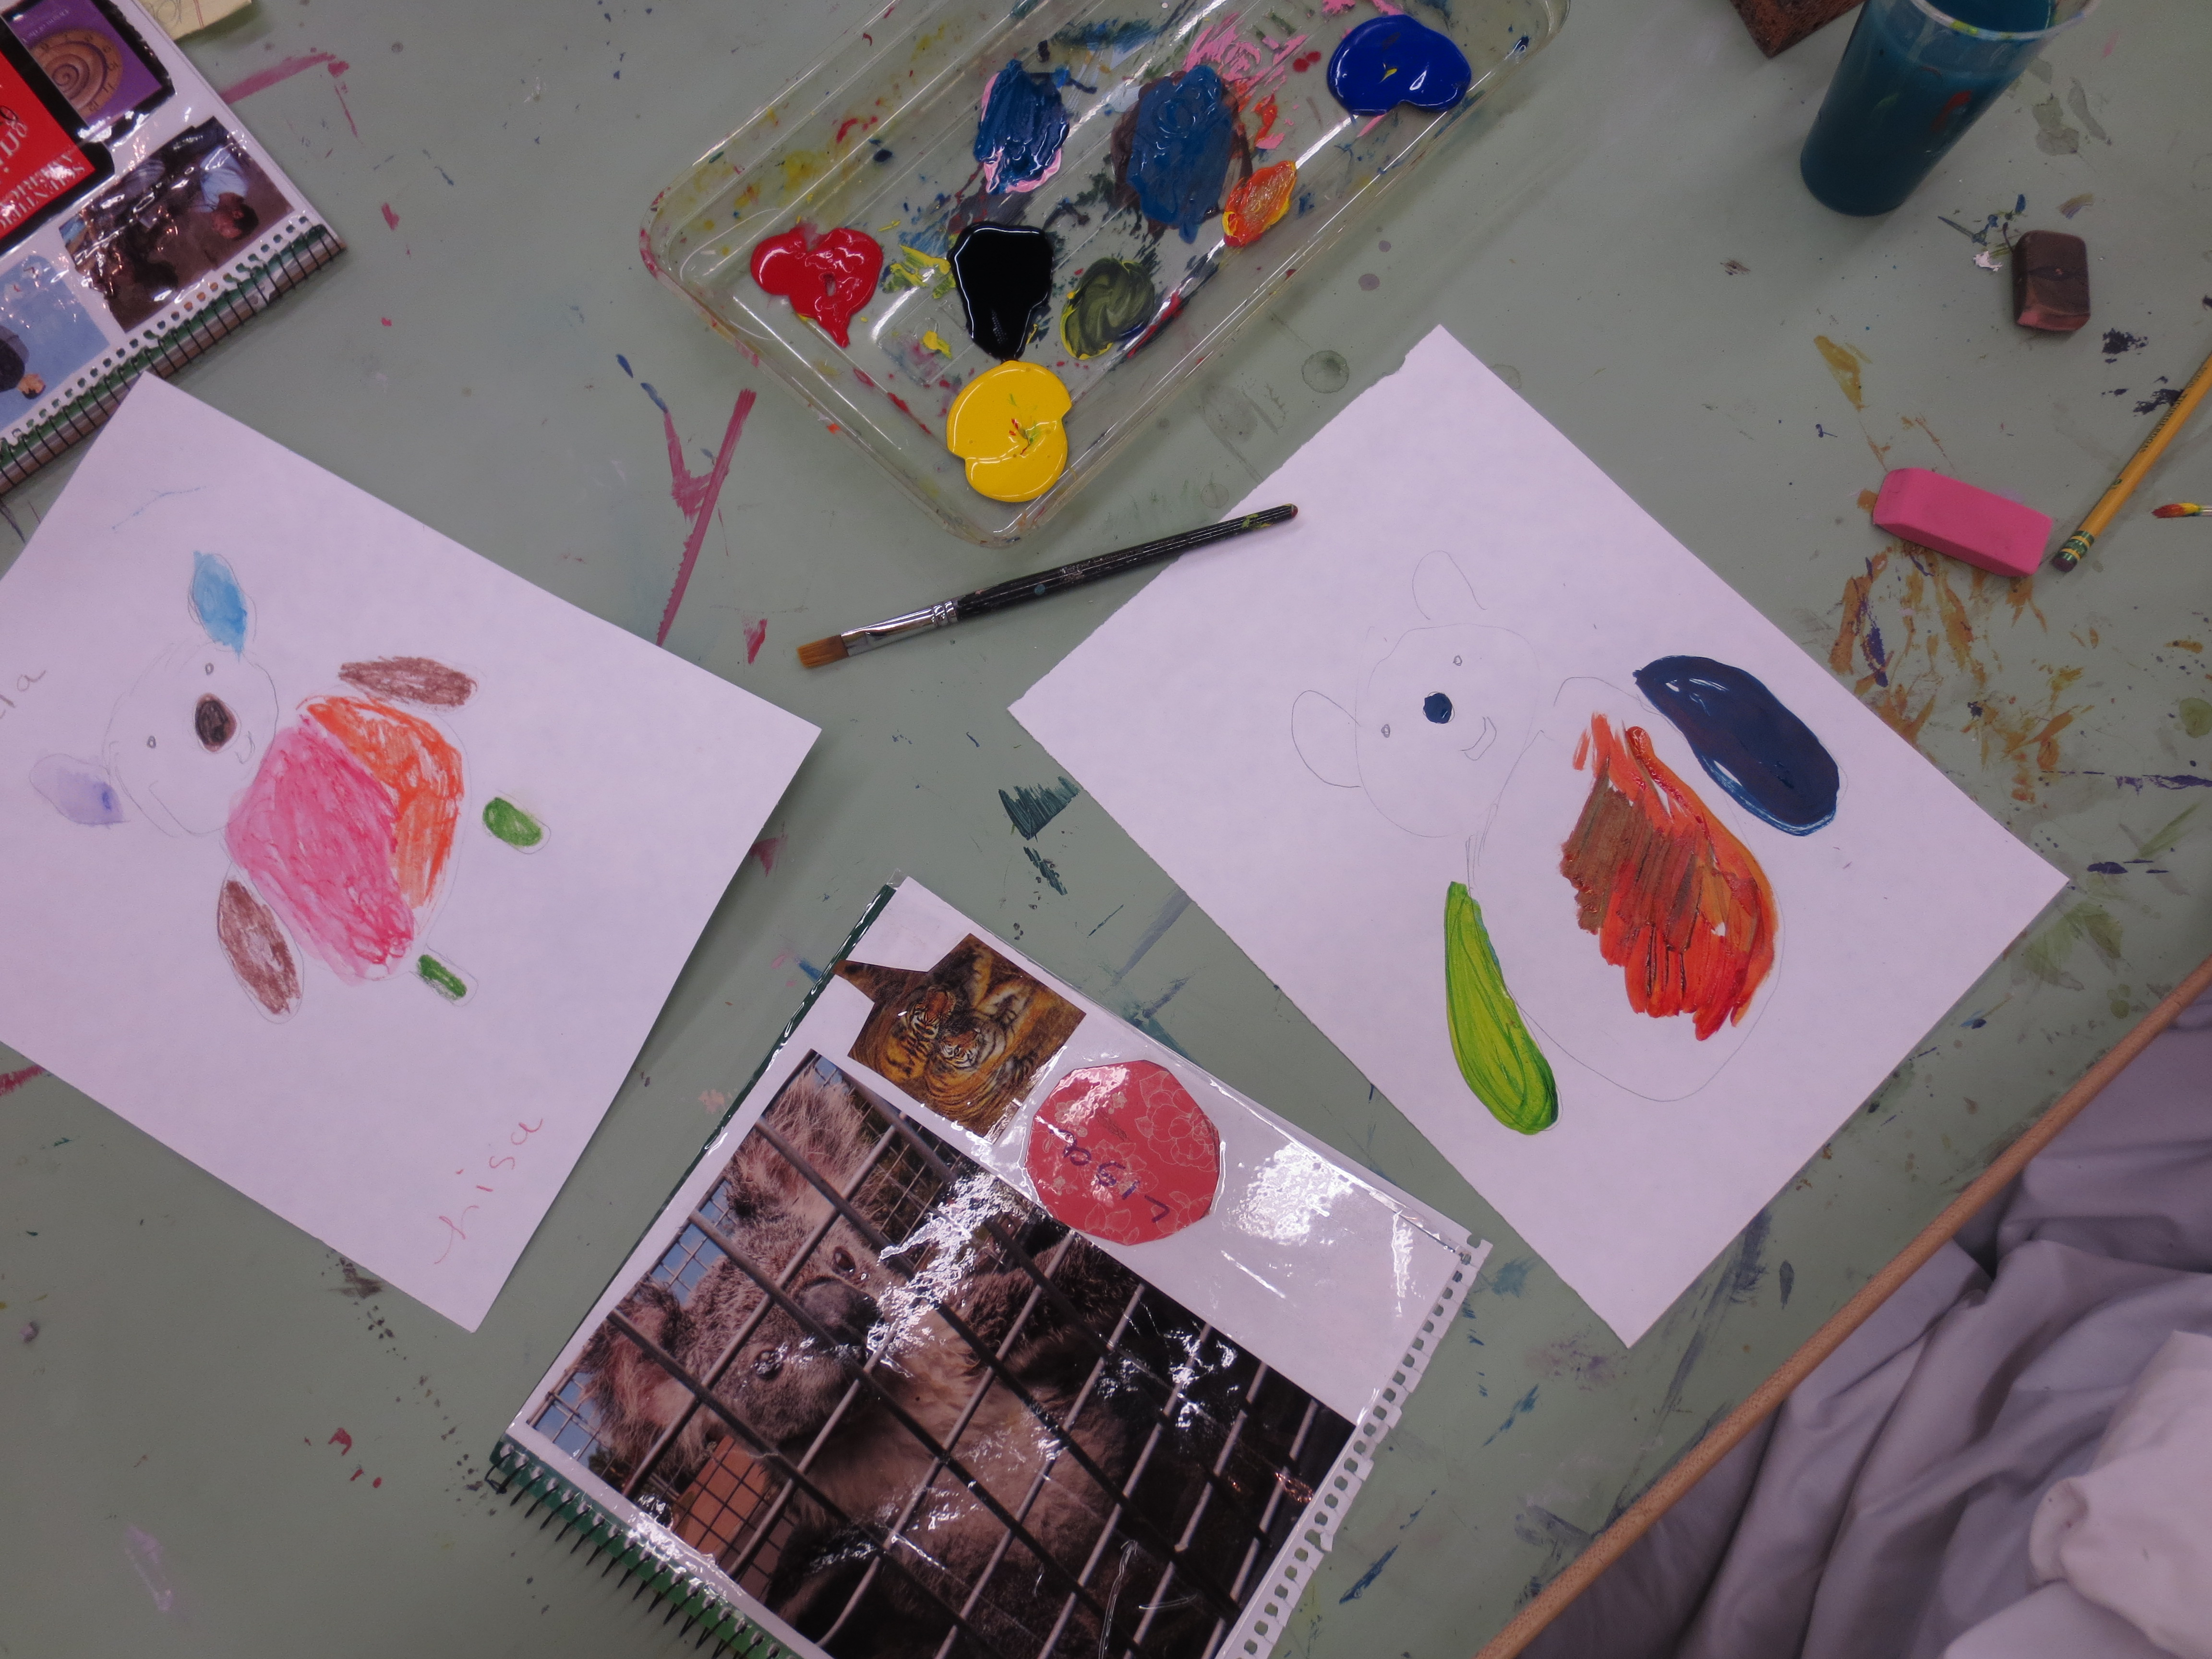
As always we had a few students who didn’t complete the activity that we assigned for the class. Instead they created other pieces of artwork. Lisa had done a small piece of artwork for the activity but then became more involved with creating another image of a koala bear that resembled the one she had made the week before. Anni also didn’t complete the assignment but she created many watercolor paintings of stick figures. She has done this continually through most of the class sessions. Even though Anni didn’t complete the assignment she seemed very delighted with the artwork she was making and the subjects in the artwork. Chris also chose to create artwork about things he enjoyed instead of completing the assignment this week.

Lisa's artwork of a second koala bear painted with acrylic paint.
Lisa’s artwork of a second koala bear painted with acrylic paint.
Anni creating an artwork containing figures.
Chris made Pikachu because that is his favorite Pokémon.


Brian didn’t create anything but continued to work in his sketchbook like he had all five class sessions. Even though Brian didn’t participate in the classroom activities we were still able to make connections with him. Also he was a learning opportunity for us because in the future we may have a student who just don’t want to do our assignments and we will have to learn how to handle that.


Since the class activity was to create a piece of artwork about something the students liked to do outside we decided to have our reflection time outside. This was a nice way to end our last class session with the students. We were able to enjoy the nice weather and talk about their artwork. We also asked the students to tell the group about the activity they were depicting and the mediums they used. We also asked that the students share with us and the group what their favorite activity from the class sessions. This was a fun reflection because we got the chance to learn more about our students as well as learn what activities they liked. In the end I feel that even though we had a bumpy start to the first two class sessions, we were really able to give the students a great experience. They also made it a great experience for us.

Becky sharing her almost completed artwork.
Judy sharing her completed piece she was then going to give it to her mother.
Heidi sharing her artwork that was still in process.
Jim shared his artwork and why it was special to him.
Lisa shared her second koala artwork with the group.
Ashley sharing with the group her excitement to go horseback riding.


Animal Combinations

Documented by Lisa Smoot

Lesson Description

In this lesson students are going to create a new imaginative animal by combining different parts of existing animals. Students will experience how to arrange an animal in a good composition and create a new creature of their own. They will be exposed to different artists who use this aggregate technique of combing different objects, specifically animals. Students will be introduced to water color pencil techniques and will learn how to create texture with them.

In today’s learning experience students… began by using a website combining animals to start brainstorming and become excited about what we would be doing. We also familiarized our students with different water color pencil techniques.

Key Concepts

technique, compositions, shape, observation, research

Essential Understandings

The scientist will use research to create a new animal compositions.

Artist will use shape and technique to communicate their observations.

Objectives/ Learning Targets

1. Students will design/create a new fictional animal by constructing a thoughtful composition. (Bloom’s: Create, Standard: Create, GLE: 4th create #1)

2. Using an Internet site students will develop ideas by brain storming for their assignment. (Bloom’s: Applying, Standard: Comprehend, GLE: 4th comprehend #3)

3. Using water color pencils students will explore the different techniques, wet on wet, dry wash, made color swatches, and wet pencil, to use their final project. (Bloom’s: Analyzing Standard: Transfer, GLE: 4th create #1)

4. Using their finished products students will be able to explain why they chose their animals, what techniques they used and why. (Bloom’s: Understanding, Standard: Reflect, GLE: 4th Reflect #1)

5. Given the examples for Paul Klee, students can explain the style in which he works, combing animals and using their textures to add dimension. (Bloom’s: Evaluating, Standard: Tranfer, GLE: 4th Transfer #2)

Skills

Planning an artwork, water color pencil techniques

Art Focus (Content)

drawing, water color pencils, ideation

Literary Focus

Explain artistic choices in animal creation in a description

Documentation

Today was our fourth session of our Artistic Abilities class. We had the students take on a role of becoming a “scientist” and creating a new imaginary animal by combining the parts of other animals. In order to get excited and begin thinking about the many possibilities of these new animals, we used a website called SwitchZoo which allows you to choose the head, tail, and legs of three different animals and watch it become this new animal.  The students took turns going up to the starboard and using the “magic” pen to select different animals and watch the creation change. The materials we used to order to create our new animals in class include paper, pencils and watercolor pencils. We discussed the different ways to combine animals and some planning processes, including listing what type of animals you like and then picking a part of each to begin to draw.

The website activity we did in the beginning of class.
The website activity we did in the beginning of class. The students enjoyed using this to create new goofy animals.

After the fun activity on the starboard, it was time to get started. The students begin planning in their sketchbooks.  A lot of them listed in their sketchbooks the animals they like and might want to use for their animal. Many of them also looked through magazines, mostly national geographic, for pictures of animals to help them visualize or get ideas.

Jim's combination of his cat and a dog
Jim’s combination of his own cat and a dog.
An example
An example of a horse, dog and parakeet combination

Some students weren’t able to find an image they wanted to draw so Mercedes helped show them pictures on the computer. A few students explored many ideas before deciding on the one they were going to eventually add color to. Heidi listed and drew a couple of different combinations of animals.

Heidi's planning and ideas
Heidi’s planning and ideas that she came up with before choosing a final idea

After most students were finishing up drawing a bigger version of their chosen animal we showed them different ways and techniques watercolor pencils can be used. I, Lisa, showed them these different techniques: dry pencil on wet paper, wet pencil on dry paper, and using the colored pencil as paint and painting it with a paint brush.

Lisa giving a mini demo of watercolor pencils techniques
Lisa giving a mini demo of watercolor pencils techniques, showing different ways to create visual texture

It was very exciting to watch as the students’ animal creations came to life with the added color and texture they portrayed. For those who wanted to, watercolor paints were used instead of the watercolor pencils. Many students added a lot of great details into to their drawings, such as Heidi adding a horse mane to the head of a turtle.

Heidi's creation of a horse, turtle, fish, and dog
Heidi’s creation of a horse, turtle, fish, and dog that she was very proud of.

When they were finished we suggested naming the new species they had just created. The names were very creative, often using parts of the names of the animals they combined. For example we had a Horstisfog and a Penlioneagle.

LeeAnn's Penlioneagle
LeeAnn’s Penlioneagle
g
A student example

At the end of class we all came  together as a group to share our new creations and the decisions made throughout the creation process. It was evident that a lot of thought went into each of the students’ projects they made. When they were sharing, students included why they chose the animals they did. For example, LeeAnn stated that she picked animals from all different types of habitats so it could live anywhere. Her Penlioneagle (made from a penguin, lion, and eagle) could live in cold, hot, wet or dry locations. A few students decided to work on their animal drawing skills and just use color to “change its species”.

Ashley's dog and cat with cheetah spots
Ashley’s dog and cat with cheetah spots
Lisa's Mr. Koala colored with many vibrant colors
Lisa’s Mr. Koala colored with many vibrant colors

Collage

Lesson Description: During this lesson students will learn about collaging through teacher examples and examples from Hannah Hoch. They will then be given the opportunity to search through magazines and choose images that they like or want to tell a story with. They will then focus on composition and how to arrange the images so that the collage expresses their intent. At the end of class they will get a chance to reflect and share their stories that they created in their collage.

Key Concepts: Compositon, Culture, Technique, Appropration

Essential Understandings:

1. Students will use appropriation to communicate cultures in art.

2. Students will use techniques to achieve an intentional composition.

Objectives:

  1. Given magazines students will collect images and appropriate into a collage. (Bloom’s, III, VI) (GLE standard 3)
  2. Given glue sticks and tape students will attach images using the technique of glue or tape chosen for collage on a piece of paper in an intentional composition. (Bloom’s, III, VI) (GLE standard 3)
  3. Students will generate ideas through think allowed, examples from teacher, examples from books, and examples from websites that show a variety of collages used in different cultures. (Bloom’s, II, IV) (GLE standard 1, 2, 4)
  4. Students will generate ideas using examples of surrealist art composing images together to make a differnt image. (Bloom’s, II, IV) (GLE standard 1, 2, 4)
  5. Students will get the images from magazines using the taring technique and/or scissors. (Bloom’s, I, VI) (GLE standard 3)
  6. Students will tell a story using images they have chosen to create or describe a culture. (Bloom’s, VI, IV) (GLE standard 4, 2)
  7. Students will make connections of collages to the real world and different cultures using examples from books and websites provided in class. (Bloom’s, I, IV) (GLE standard 4, 2, 1)
  8. Given packaging tape students will present their collages using the technique of tapeing it on their sketchbook

Skills: Create thoughtful compositions using found images.

Art Focus: Collage; Composition

Literacy Focus: Telling a story using found images.

Documentation:

Today we started by asking that class if they knew what a collage was. Not many of the students knew what a collage was so we explained that it was a piece of artwork that was made up of images that represented one meaning. To help the students understand a collage we also compared it to a mosaic, which we had made the previous week. We went on to explain they would be making collages that would become covers for their sketchbooks. Once we were done presenting the project and answered any questions the students had, we handed out magazines so that students could start cutting out images.

Becky got right to work and was cutting out images of animals because she loves animals.

Right away the students were excited about the project. They started cutting out pictures right away and began to arrange them on their piece of paper. During this time Melanie, Lisa, Missy, and myself walked around the classroom and asked students about the decisions they were making. When I asked Heidi about her collage she expressed having an antique theme for her collage. She was also at the time adding a tree because it intrigued her.

The beginning o Heidi's antique inspired collage.
The beginning of Heidi’s antique inspired collage.

Susan chose to go in a different direction than Heidi. Susan used her collage to create a story. Susan arranged her images to tell her story from left to right of her paper. Once she had finished her piece we asked if she wanted to make another collage and she said no. We then encouraged her to write down the story that her collage told.

Susan used the collage assignment to tell a story with images.

The other students chose images that they enjoyed and arranged them in a pleasing way to their eye.

Ashley chose images of things she likes. She arranged the images so they weren't touching.
Ashley chose images of things she likes. She arranged the images so they weren’t touching.
Lisa chose images of birds and other things se liked. She said, "I'm a designer".
Lisa chose images of birds and other things she liked. She said, “I’m a designer”.
Judy made collages during the class that included many images of animals and plants.

Today we also made sure to reserve time at the end of class for the students to share their artwork. While sharing their artwork, we also asked that they share why they chose the images on their collages. During this time Chris shared that he chose maps for his collage because he liked to travel. Chris has also made the decision to add magazine letters to spell his name on his collage. This was something no one else did in the class. LeeAnn also shared that the images she chose for her collage reminded her of places she has been to and memories she has.

Chris cut out individual letters from magazines to spell out his name on his collage.
LeeAnn made two collages that included images that reminded her of places she has been. She also chose images that expressed her memories.

It has been very beneficial for our group to have the students share their artwork and reflect on the choices they made during the class time. It gives us the opportunity to learn more about our students. We are also able to evaluate what they may have learned during the class session.